So I drink Kombucha on a pretty much regular/daily basis. In Queens, you can buy a regular-sized bottle of GT’s Kombucha for about $4.00, while in midtown Manhattan you can buy the same bottle for around $5.00. So if you are cost-conscious and want to prove to your friends that it doesn’t cost a fortune to eat and drink healthy foods, I have prepared some instructions for how to brew your own Kombucha in the privacy of your own home for a fraction of the cost of buying it in the supermarket.
Before you read the instructions, check out GT’s website to see how many flavors they have. My favorite flavor is Cherry Chia: http://synergydrinks.com/index.php/products#enlightened-synergy/enlightened-synergy-cherry-chia. Eventually you will be so good at brewing Kombucha that you too will start to flavor your own homemade brew as well.
Ingredients
- 1.5 liters of water
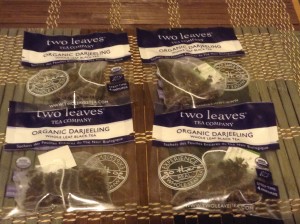
- 4 x Black Tea Bags (http://www.twoleavestea.com/organic-earl-grey)
- 1 x Kombucha Starter aka SCOBY (http://www.culturesforhealth.com/kombucha-tea-starter-culture.html)
- 1 x cup white vinegar
- 1/2 x cup organic white sugar
- 1 x glass mason jar
- 1 x rubber band
- 1 x cheese cloth or paper towel
Instructions
Step 1 – Boil 1.5 liters of water
Step 2 – Steep 4 tea bags for 3-5 minutes.
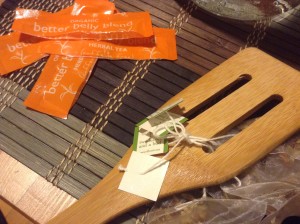
In order to avoid steeping the tea for too long and making your tea too strong, I take my tea bags and tie them to a big wooden spatula and use that to quickly insert and remove my tea bags.
Step 3 – Wait 5 minutes for water to slightly cool then add sugar
Step 4 – Allow tea to cool to room temperature. This can take a while and the best part is that once the tea cools to room temperature it won’t get any colder!
Step 5 – Add SCOBY and 1 cup of white vinegar (you can also use existing Kombucha, the vinegar is used to make the solution acidic to prevent molds and other bacteria from growing)
Add a SCOBY – Symbiotic Culture of Bacteria and Yeast. This is a picture of my SCOBY from my last batch of brewing Kombucha. After a while the SCOBY gets so big that a baby SCOBY comes off of it and you can then start to brew two batches of Kombucha at the same time!
Step 6 – Cover jar with paper towel and secure with a rubber band. Then let it sit somewhere for 7 to 28 days. Check the kombucha by tasting it every few days or at your discretion. The best way to taste it is to stick a straw inside the jar and to then cover one end with your finger so that you avoid contaminating the kombucha with anything from the straw. After a few days you will notice that the Kombucha does not taste as sweet and its carbonation level will start to increase. Once the kombucha tastes satisfactory, remove it from the dark place and place it into the refrigerador to stop the fermenting process.
If you are lucky, you will also now have two kombucha scoby’s in your original jar. This usually does not happen during your first brew if you purchased a dehydrated one such as the one I referenced in the ingredients section above. That is how it happened for me and now I have 4 Kombucha SCOBYs! As a side note, if you know me personally and would like a Kombucha SCOBY please contact me and I would be more than happy to give it to you along with a mason jar so that you can get started with brewing your own Kombucha as well. Have fun!


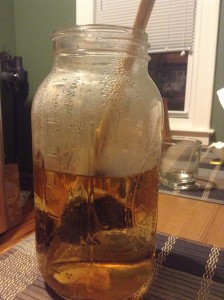
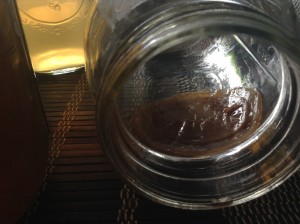
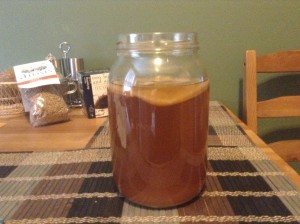
Check out the fermentation I’ve got going!
http://www.betterdoneyourself.com/2014/06/30/kombucha-reload/
and scroll all the way to the bottom of the post!